Test technology
Quality, dedication and flexibility are what define us.
DIN EN ISO 9001 forms the basis of our quality management system. We also believe that quality must be a given, from the first step to the last.

Monitoring of work steps:
All work steps are checked and recorded using the 4-eyes principle. This ensures that errors are identified at an early stage, thereby keeping the scrap rate down and improving productivity. Thanks to state-of-the-art technology we do not have to wait until the final check once the product is complete to check for defects, but can check at the pre-manufacturing stage. The final check or function check serves as a further “filter” between our production and our customers and therefore completes the entire process chain.
Electrical testing:
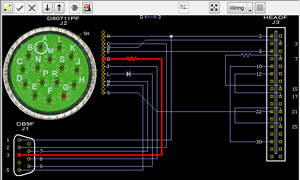
All manufactured cables are subject to careful electrical testing. Our test engineers can also test resistors, capacitors and diodes that are installed in the wiring harness.
All test adapters have been manufactured by us and monitored with regular inspections, allowing optimal testing of exotic connector systems.
Monitoring of crimping force:
Our fully automated manufacturing plants are equipped with integrated monitoring of crimping force. The strength of the crimped connection manufactured on a fully automated machine is monitored.
How it works: Two presses have sensor technology that monitors the crimping forces acting on the connection.
The values of “OK” crimps are taught in as reference values at the beginning of the batch. A tolerance margin is defined for these reference values. The values may fluctuate within these tolerance limits during operation.
If the values fall within these tolerance limits, the crimped connections produced are deemed to be OK. If the values fall above or below the tolerance limits, the machine will stop and the not OK part will automatically be destroyed.
Laboratory technology:
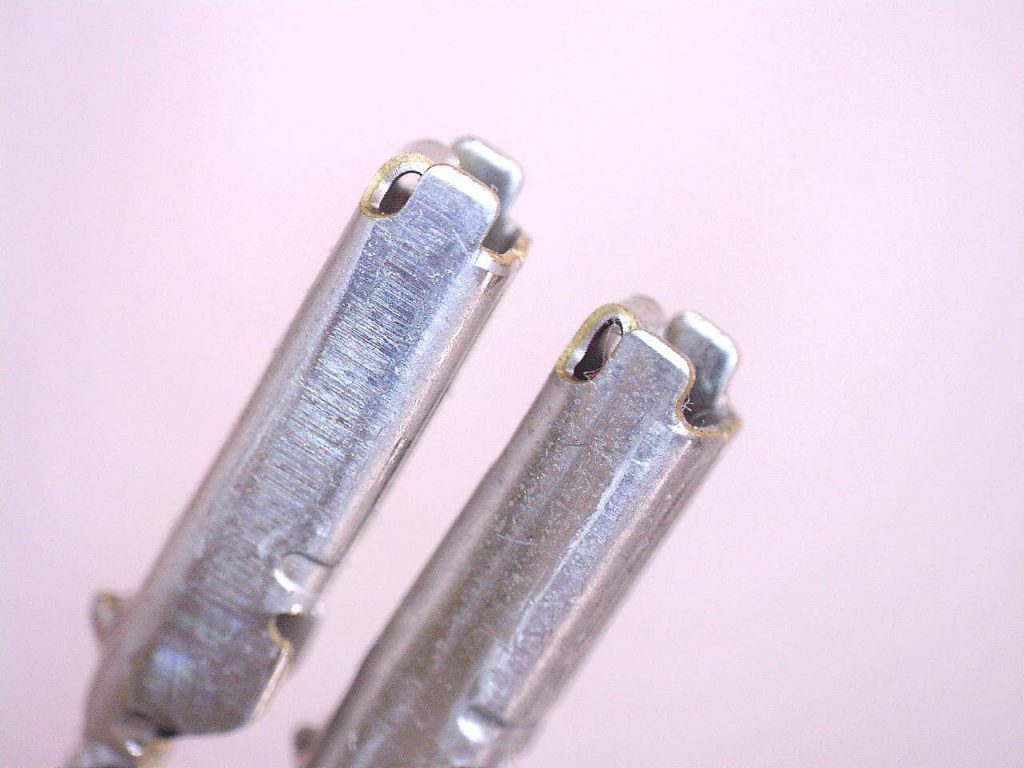
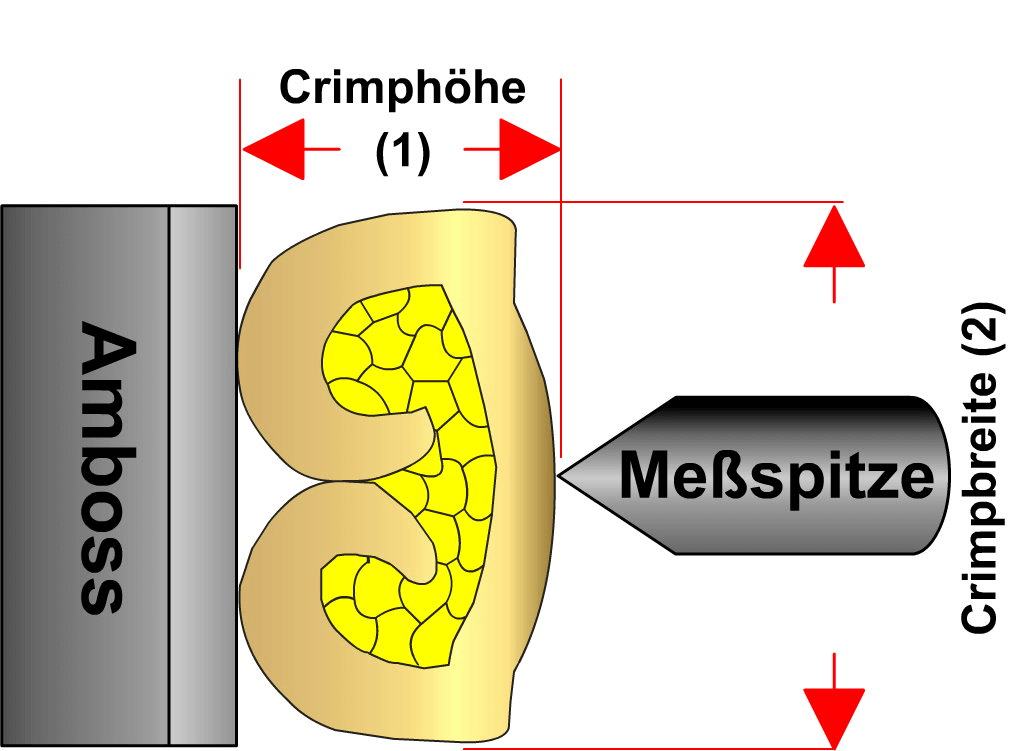
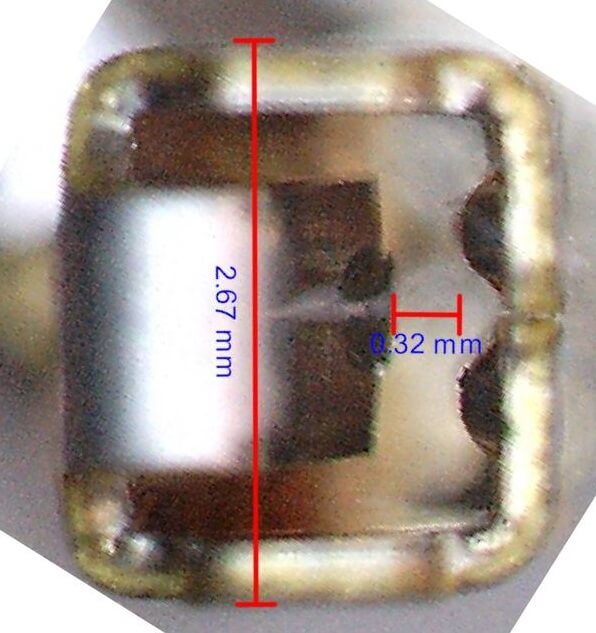
The microsection shows the “inner life” of the crimped connection. The quality of the crimps can be assessed based on a method using a corrosive solution.
The crimp height and width, the degree of compression, the edge distances and the thicknesses and shapes of the base can be assessed.
In addition, we produce crimping analyses, measurements and records of these.
Tensile strength measurement:
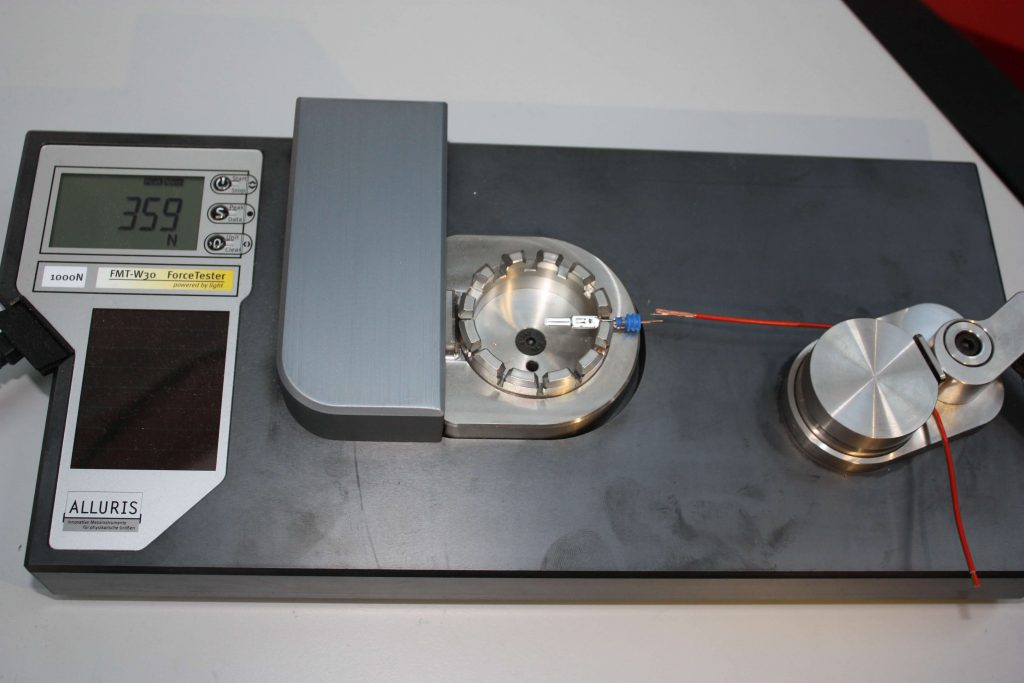
The pre-cut sections produced by us that have been fitted with a crimp are subjected to a tensile strength measurement during pre-manufacturing. The strength of the crimp is measured according to DIN 46 249, Part 1.
As the force is increased, the crimped contact is pulled until it shears. The force being applied at this point is displayed in Newton by our tester. If the pull-off force is within the tolerance range specified in the standard, the crimp is OK.
The wire is completely destroyed during the measurement process, so the measurement is therefore performed randomly for each batch.
Camera monitoring of components:
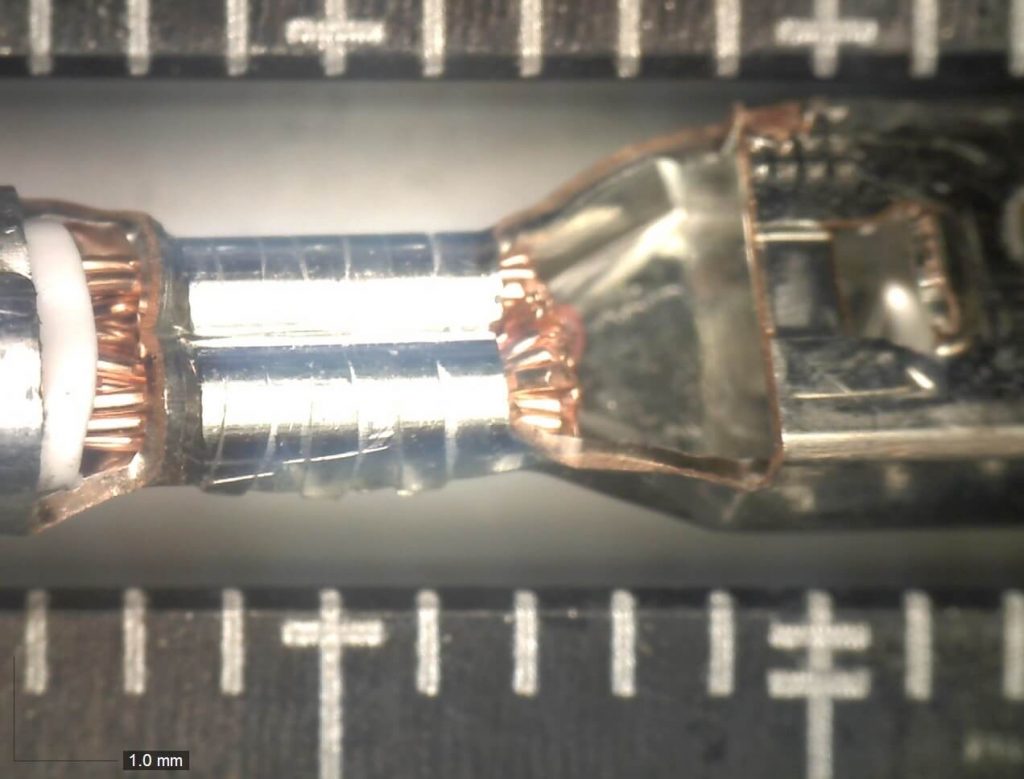
Detailed photos of components are taken with a camera. These will reveal any defects. Technical faults that were not previously identified during automatic monitoring of the crimping are now identified.
Continuity tester:
Multiple continuity testers are used to test the pole assignment of multi-pole cables, as well as a high-voltage tester.
Test reports, microsections, enlarged camera images of components and initial sample test reports can be produced at the customer’s request.
Quality is for us:
- To sum up perfection
- To ensure precision in every step
- When every employee satisfies the customer with his services